
✅ HOW TO: Quick Planns
Learn how to easily create a quick plan to help you manage guest requests like a pro! You'll discover just how simple it is to pull up your guests and then book their activities like tours or transfers, and confirm your plans with ease.
Using Quick Planns
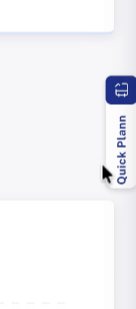
From almost any page in Planniac, locate the Quick Plann Tab and click on it
You can find the little Quick Plann tab on the far right side of most of the pages within Planniac.
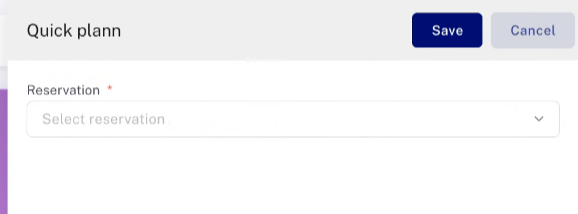
Select a guest by clicking inside the Reservation input box
Click on that and it opens up a little window where you are able to select the guest.
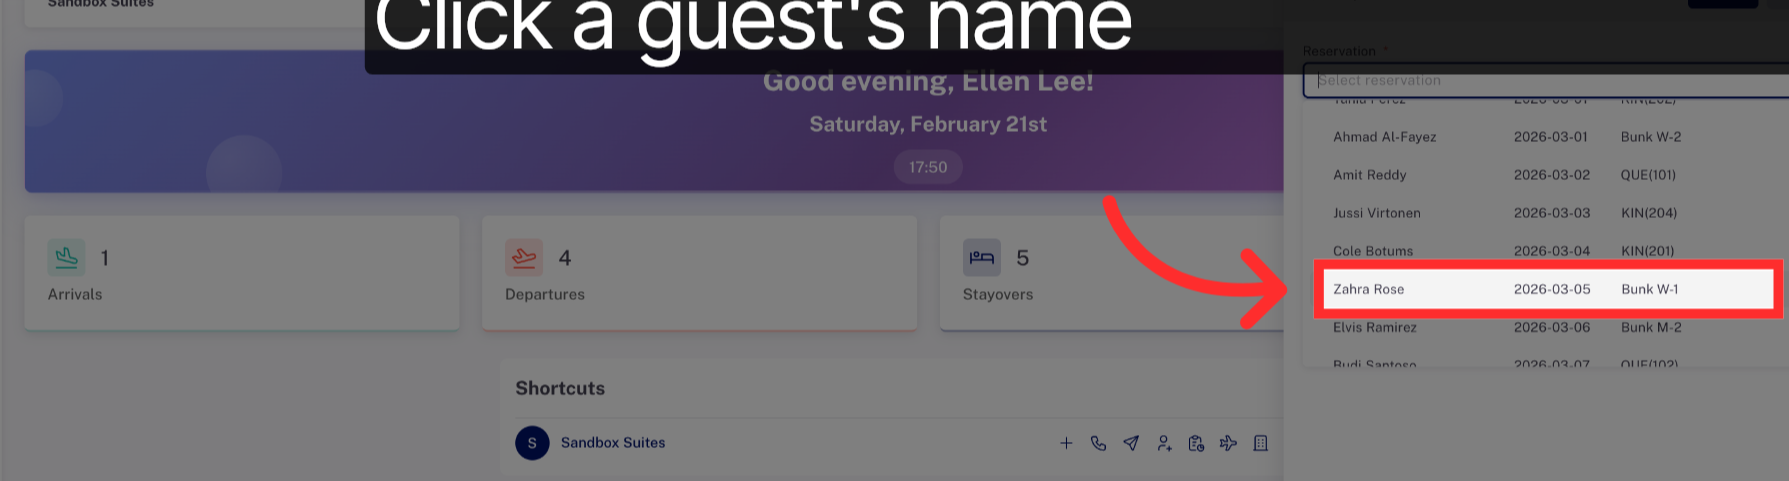
Select Guest From List
Start scrolling or typing a name, and when you find the right guest, select them. You'll also see the check-in date and room so you're sure you've selected the right person.
Access Activity Search Field
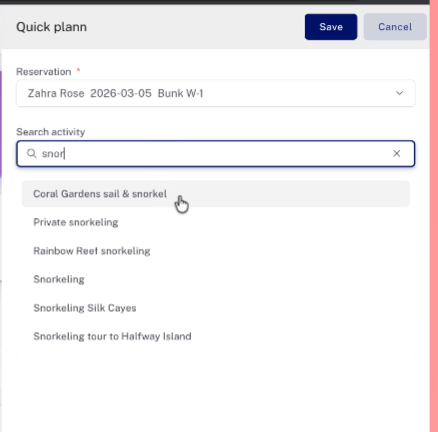
Next we search for the activity. You can just scroll through the list or type to search. Maybe today a guest has come to the front desk and is looking for a snorkeling tour.
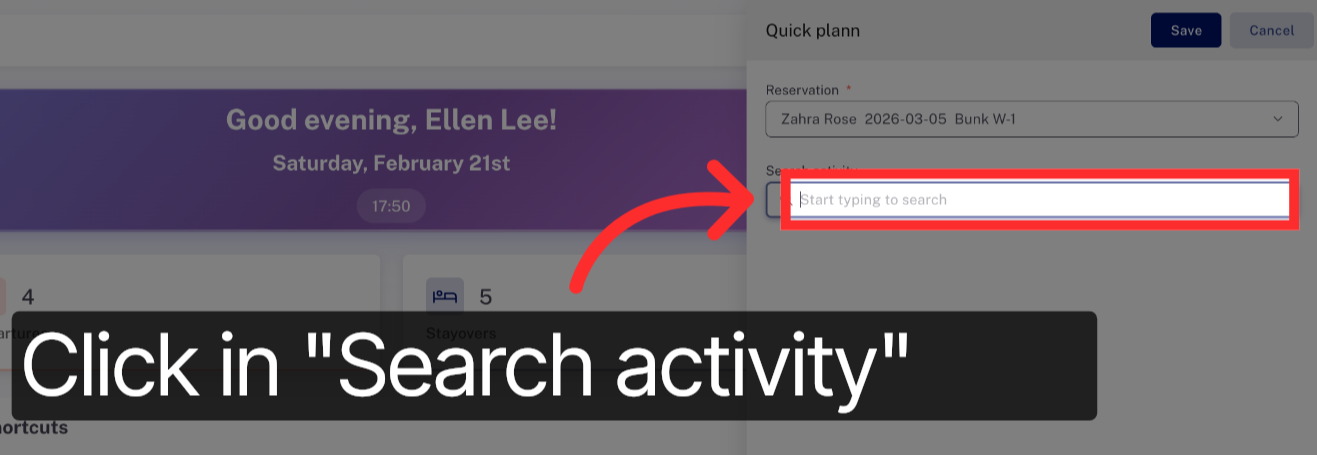
Search by scrolling or typing
You can just scroll through the list or type to search. Maybe today a guest has come to the front desk and is looking for a snorkeling tour.
Select it from the list
You happen to know there's a Coral Gardens snorkeling tour going out tomorrow. Click on that.
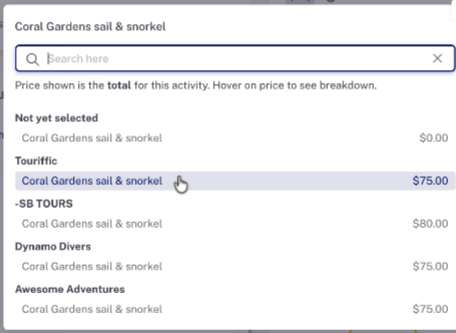
Select the provider
We'll use Touriffic for the tour.
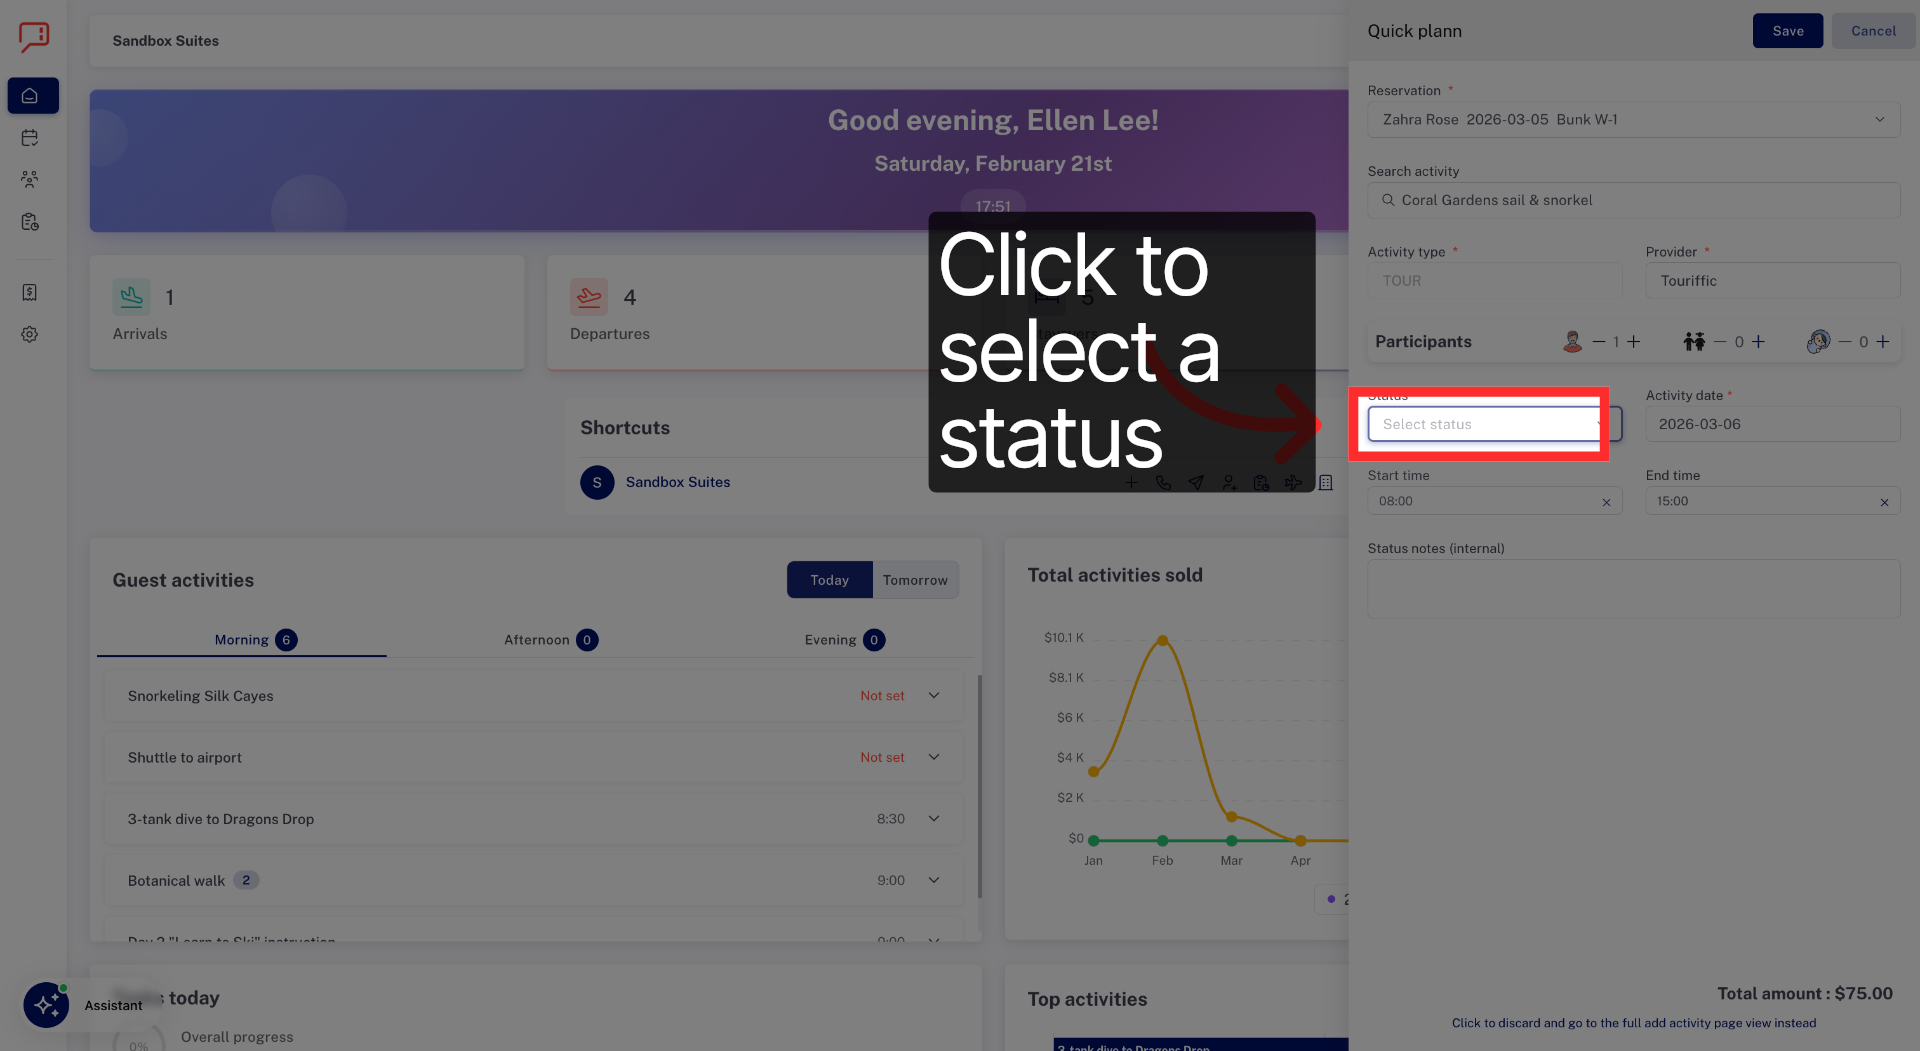
Select a status
Then we nee to select a status. Is it just a pending request? Is it confirmed? Is it tentative because of the weather?
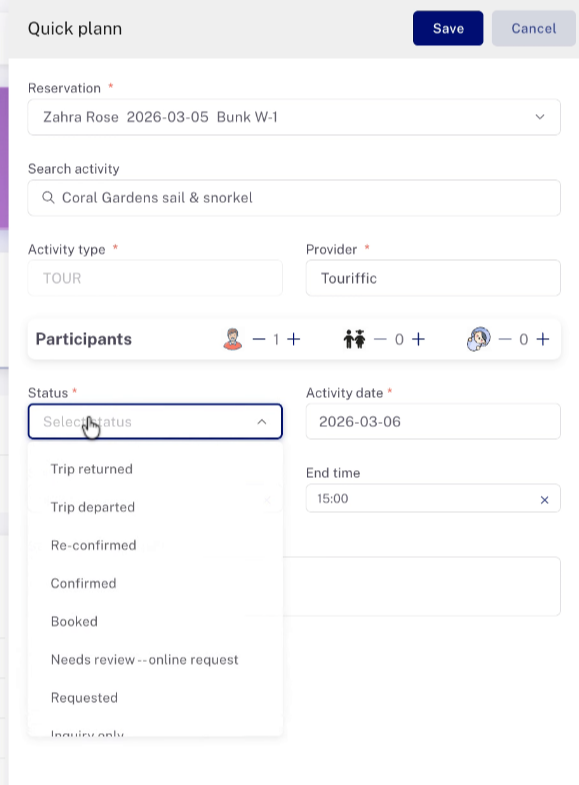
Select a Status
Then we nee to select a status. Is it just a pending request? Is it confirmed? Is it tentative because of the weather? Let's say it's confirmed, so we'll click that.
Set the date
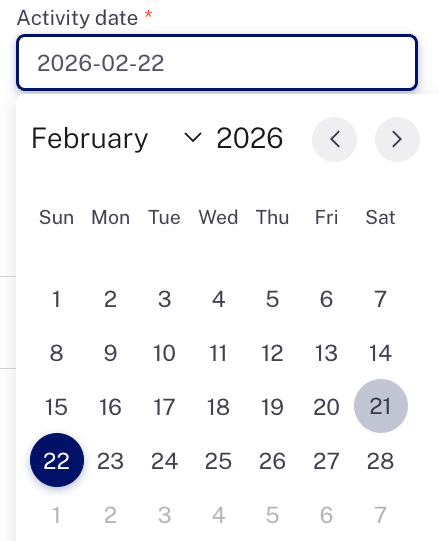
Set the date on the activity. We'll set this one for tomorrow but it's easy to select any date – as far out as you need to plan.
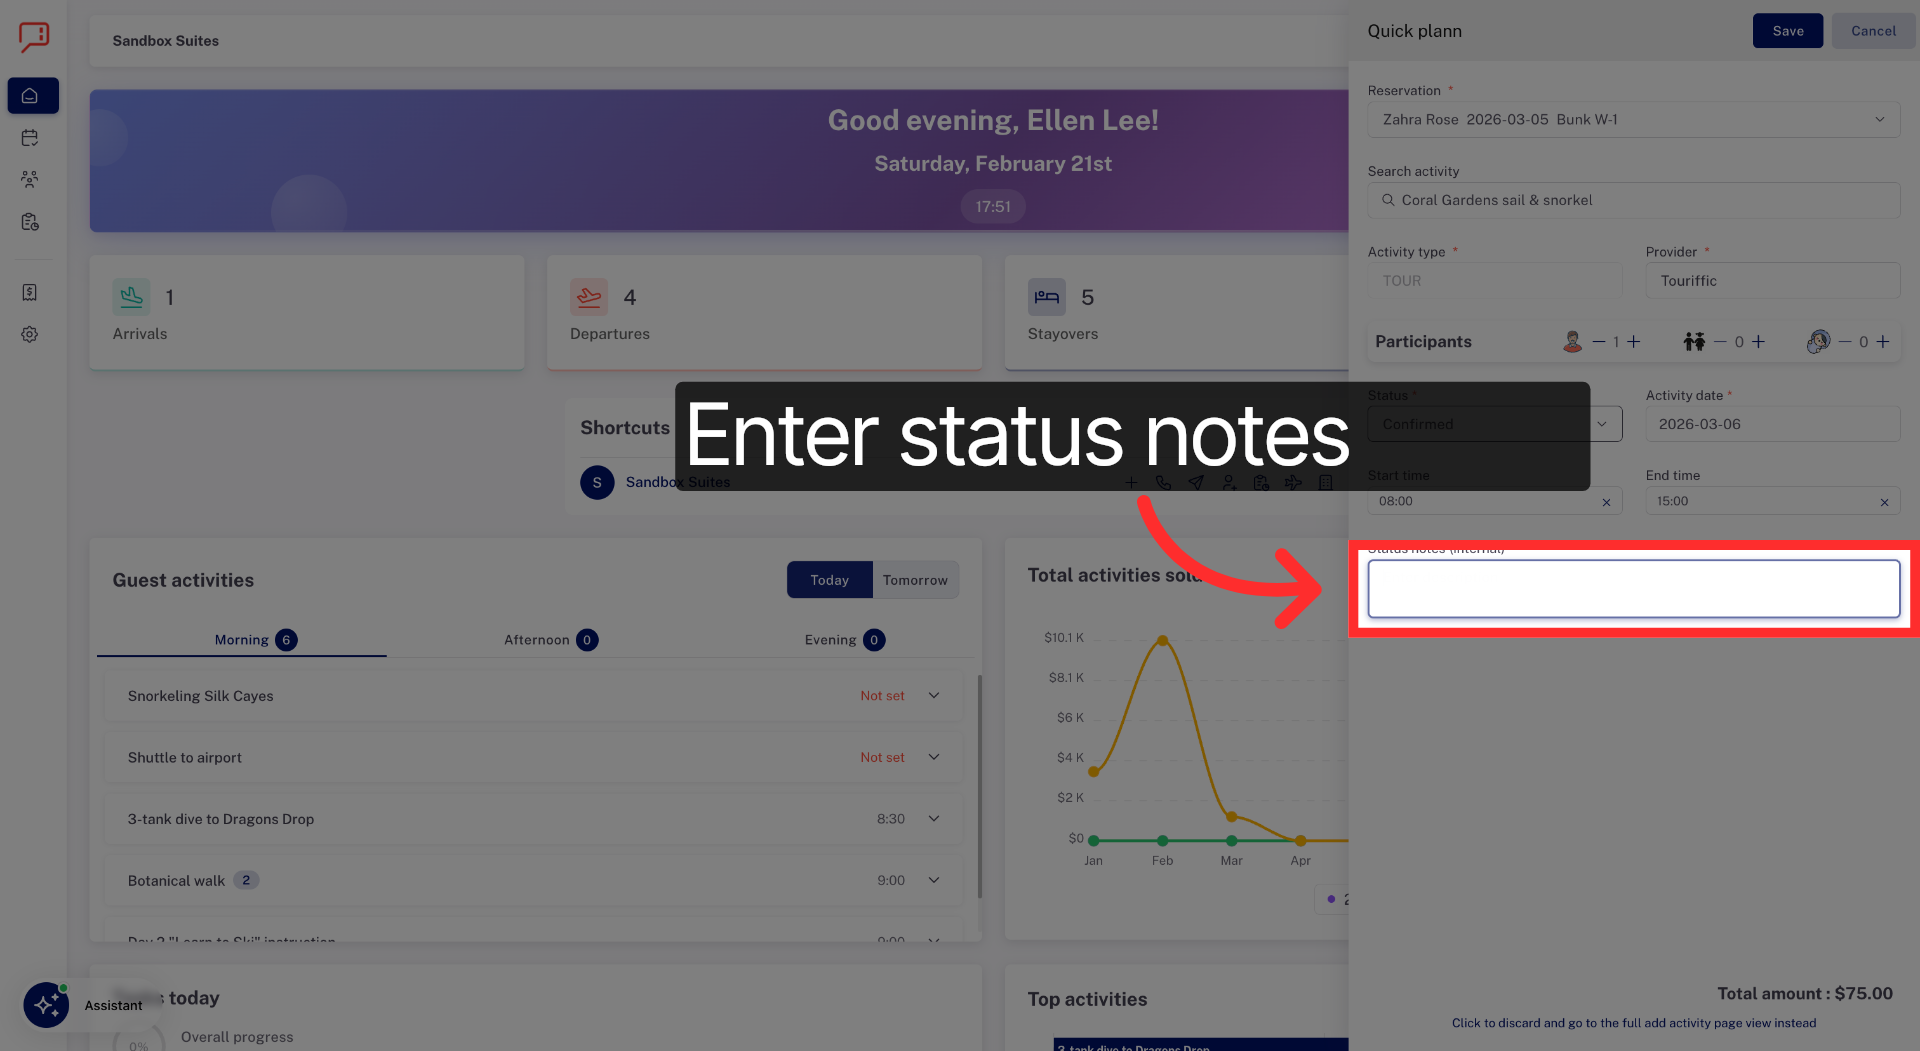
Enter Status Note
If it's helpful, you can also click in the Status Notes area to add additional information about the booking. This can be something like "Snorkel fin sizes W-9 and M-11" or "Remind guest to take SPF 70+!"
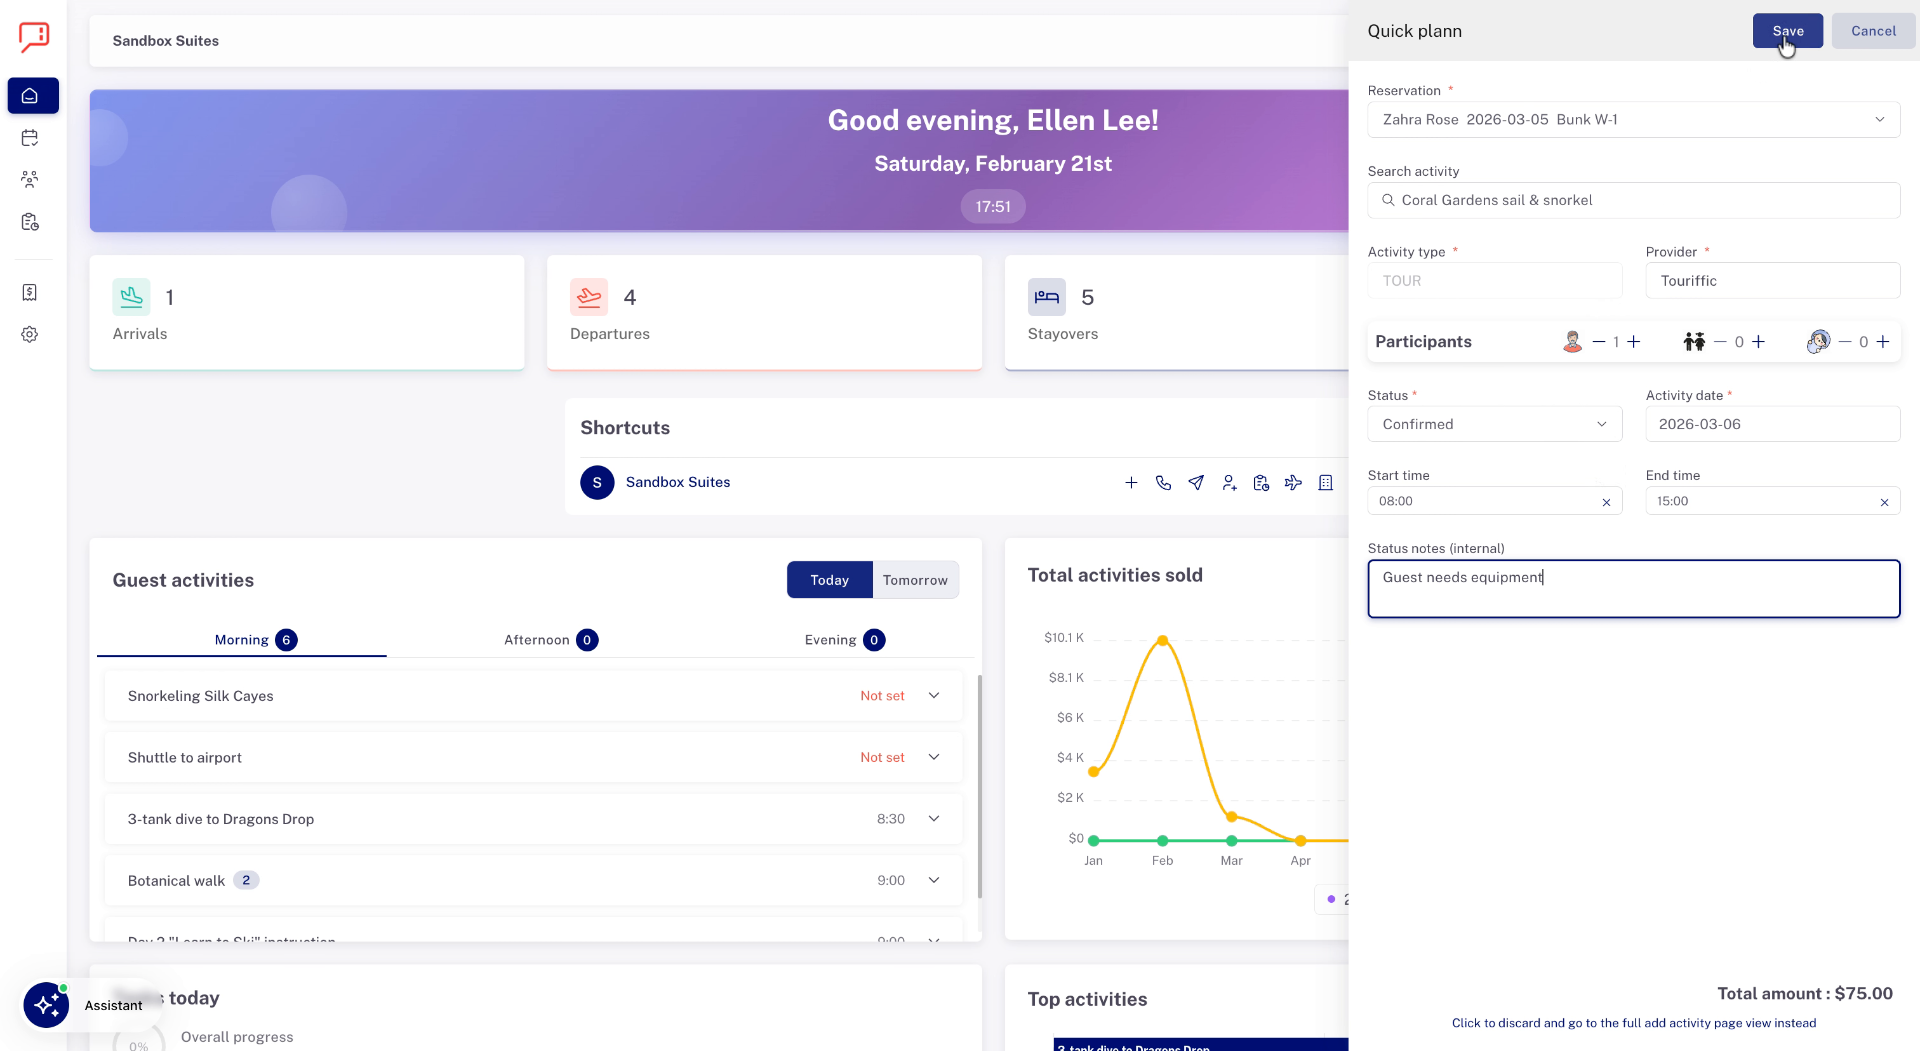
Save your Quick Plann Entry
Then, save it! That's all you need to do.
Verify Plan On Planns Page
Now if you navigate to the planns page and search for the guest, you can confirm that the plan has been created. There it is!
Go to the Planns page to verify
If you need to add more details, you're always able to go to the edit details page and do more.

Now we've guided you through adding a quick plann in Planniac, from selecting a guest to confirming and editing the plan.